

You pull a blanket over your knees, turn the thermostat up a notch, and still feel a chill moving along the floor. Most people blame the windows first. Energy auditors often find the real trouble somewhere less obvious.
A typical audit uses a blower door, which depressurizes the house so leaks show up clearly, and sometimes an infrared camera. The same trouble spots turn up again and again. Here are eight of them, roughly from the top of the house to the bottom.
The Attic Hatch or Pull Down Stairs
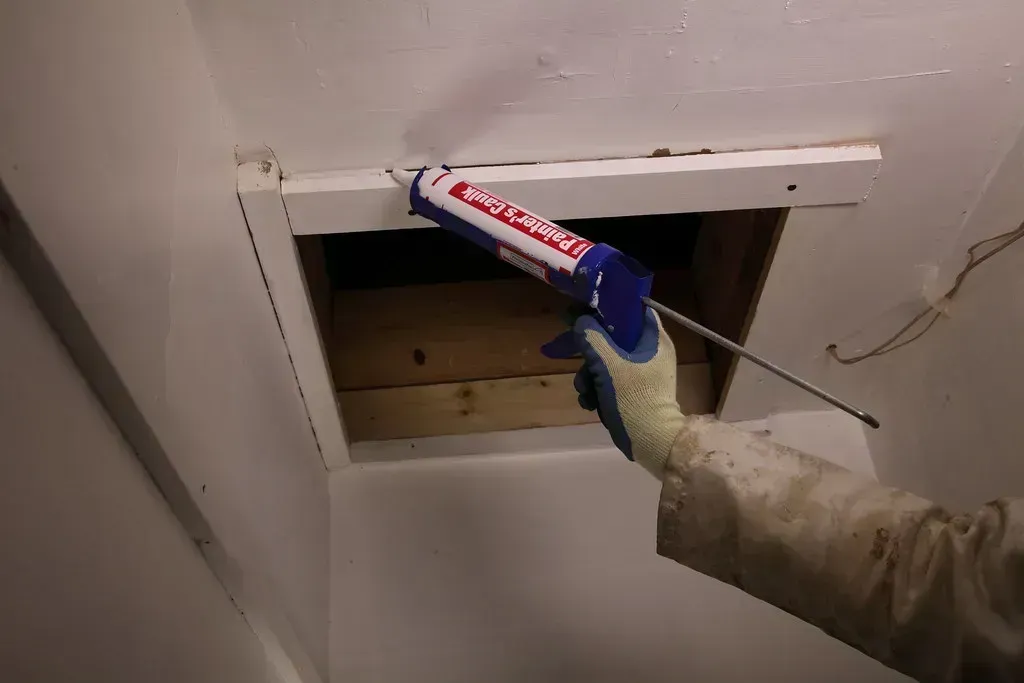
Warm air rises, so the ceiling is where a lot of heat escapes. An attic hatch is often just a thin piece of plywood or drywall resting on a frame, with no seal and no insulation. Pull down stairs are worse, since they leave a large uninsulated opening in your ceiling.
The fix is cheap. Add weatherstripping around the frame and glue rigid foam board to the attic side of the hatch. For pull down stairs, an insulated cover box that fits over the whole assembly works well.
Recessed Ceiling Lights

Older recessed lights, often called can lights, were not designed to be airtight. Many have vents or gaps that connect your living space directly to the attic. Heated air moves up through them all winter.
Auditors often suggest swapping in airtight, insulation rated LED retrofit kits, or sealing the housings from the attic side when it’s safe to do so. Keep insulation away from fixtures that aren’t rated to touch it, because heat buildup is a real fire risk.
Exterior Doors
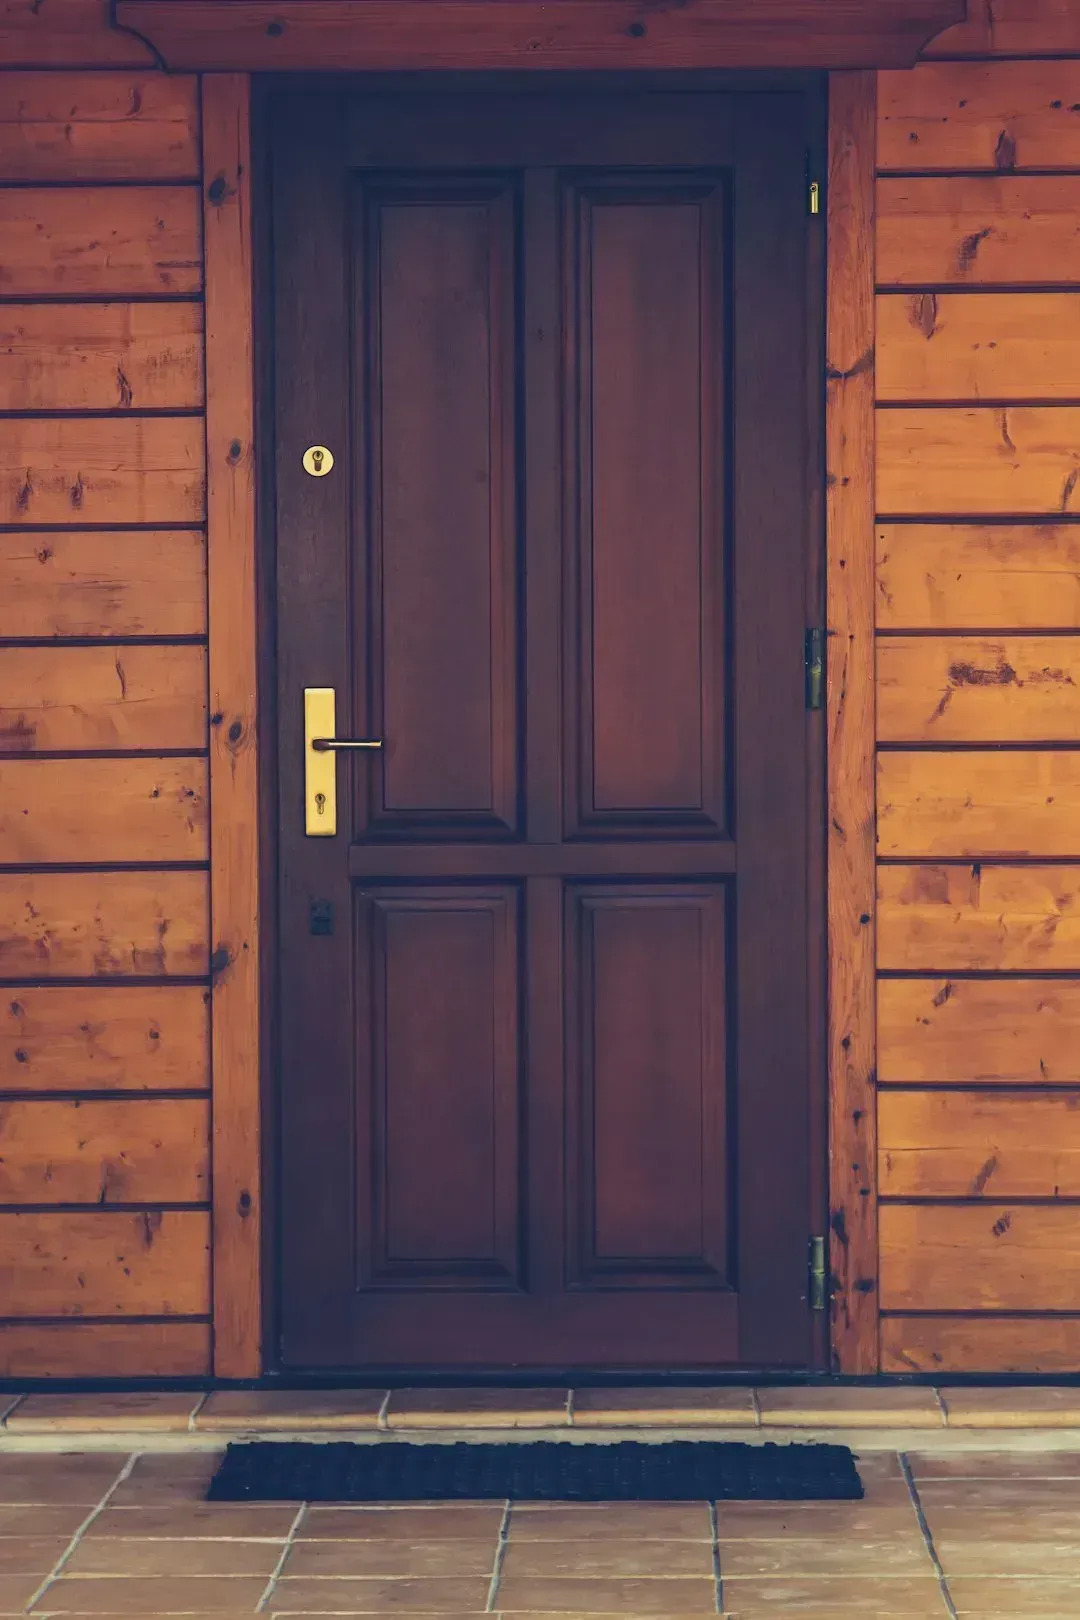
A door can look tight and still leak. Worn weatherstripping, a gap under the threshold, and a poorly fitted frame are the usual causes. A simple test is to close the door on a strip of paper. If it slides out easily, air is getting through too.
Replacing compressed weatherstripping and adjusting or replacing the door sweep often solves the problem. Don’t forget the mail slot, keyhole covers, and the gap between the frame and the wall, which can be sealed with caulk or low expansion foam.
Window Frames and Sashes

Windows do leak, though usually at the edges rather than through the glass. Aging caulk, cracked glazing putty, and loose sashes let air slip in around the frame. On older double hung windows, the gap where the two sashes meet is a frequent culprit.
Start with fresh exterior caulk and new weatherstripping. Seasonal window film or storm windows help when replacement isn’t in the budget. Full replacement can be worthwhile, but it’s usually not the cheapest first step.
The Rim Joist in the Basement or Crawl Space
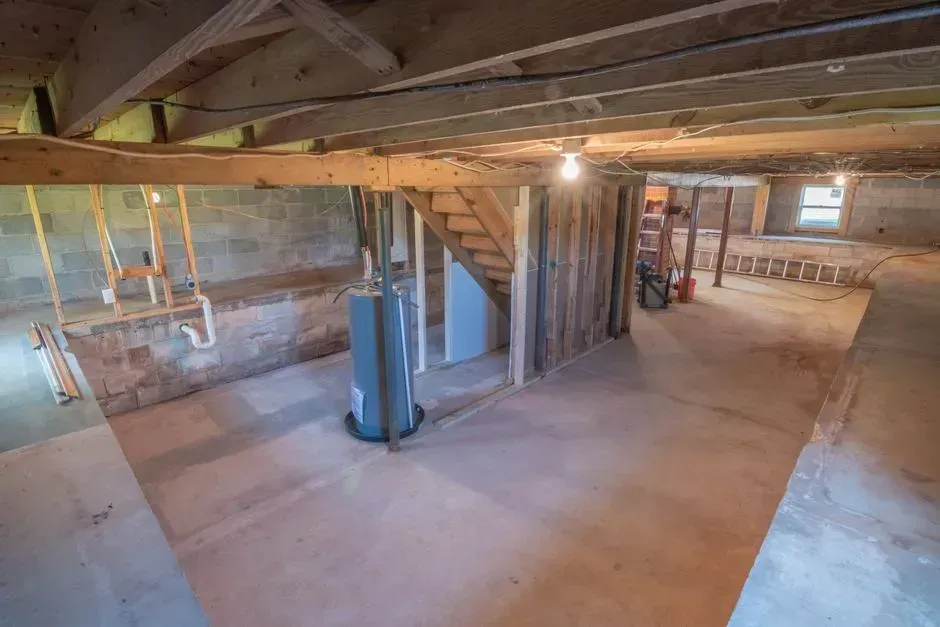
The rim joist is the band of framing that sits on top of your foundation wall, under the first floor. It has many seams where wood meets concrete and wood meets wood. In many homes it’s uninsulated and full of gaps, and auditors see it constantly.
Cold air entering there chills the floors above and keeps the whole lower level feeling damp and cool. Sealing the seams with caulk or spray foam and then adding rigid foam or spray foam insulation is a common fix. It’s a good job for a confident DIYer, though a contractor can do it quickly too.
Outlets and Switches on Exterior Walls
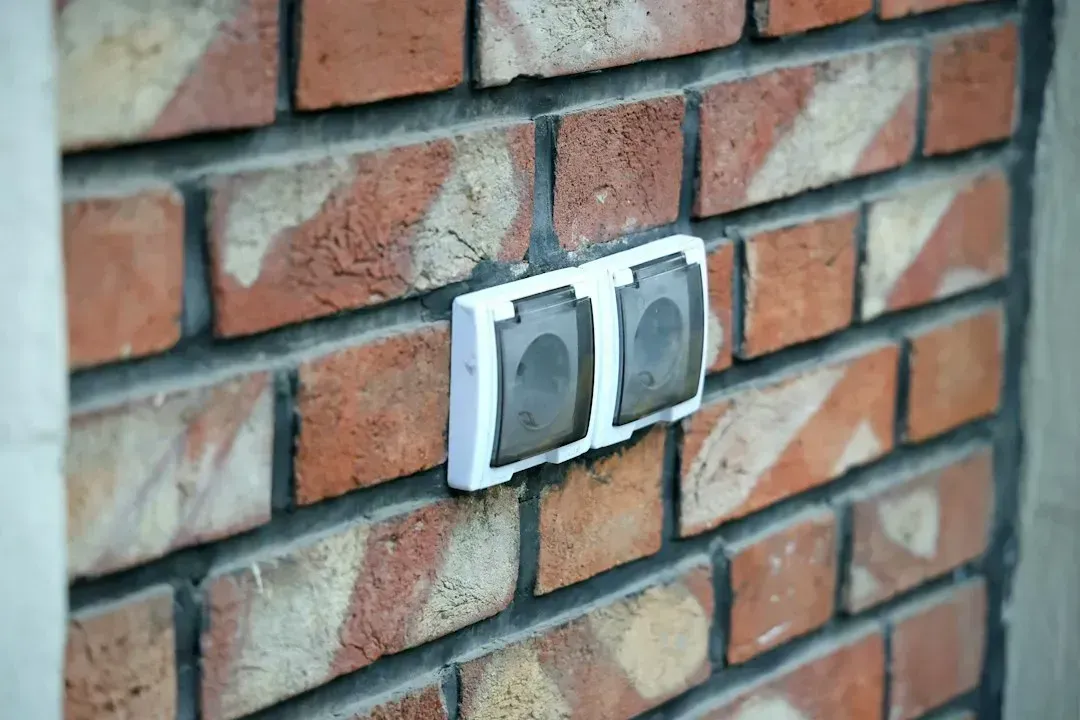
Hold your hand near an outlet on an outside wall on a windy day. Many people are surprised to feel a faint breeze. The electrical boxes cut holes in the wall, and gaps around them connect to wall cavities that may reach the attic or basement.
Foam gaskets that fit behind the cover plates are inexpensive and take only a few minutes per outlet. Turn off the power at the breaker before you remove any cover. For bigger gaps, a bead of fire rated caulk around the box helps.
The Fireplace and Chimney Damper
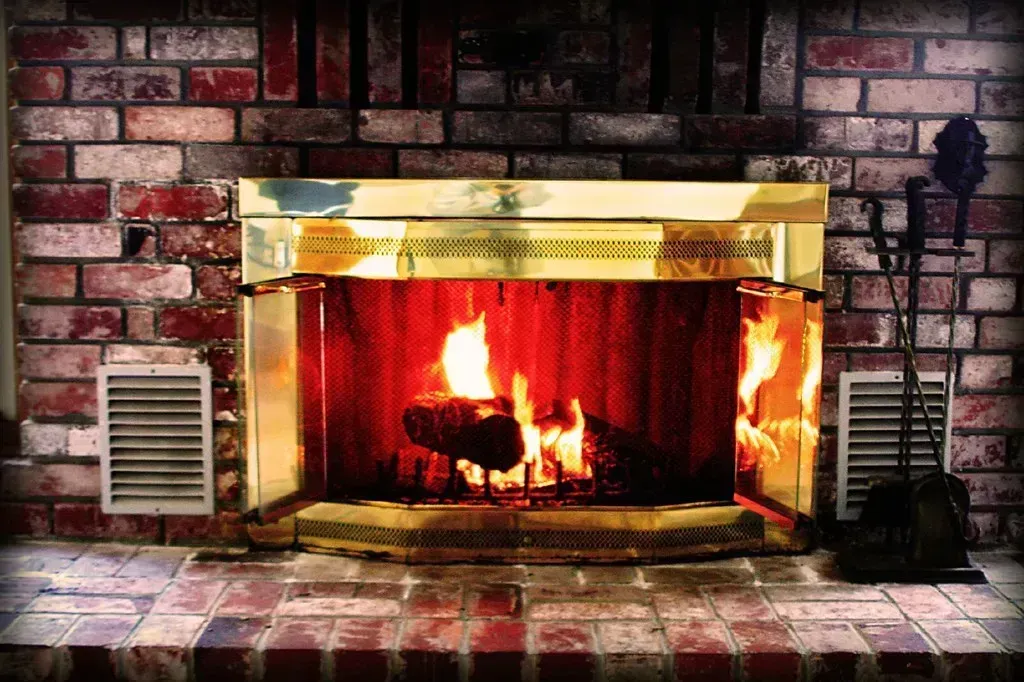
A fireplace is basically a large hole in your house. Even with the damper closed, an old or warped damper may not seal well, and cold air can drop straight down the flue. Homeowners who rarely light a fire are often the ones with the worst leaks.
A chimney balloon or a tight fitting draft stopper can block the opening when the fireplace isn’t in use. Glass doors reduce loss during a fire, and a sweep can check whether the damper closes fully. Remove any plug before lighting a fire, always.
Ducts and Penetrations for Pipes, Wires, and Vents
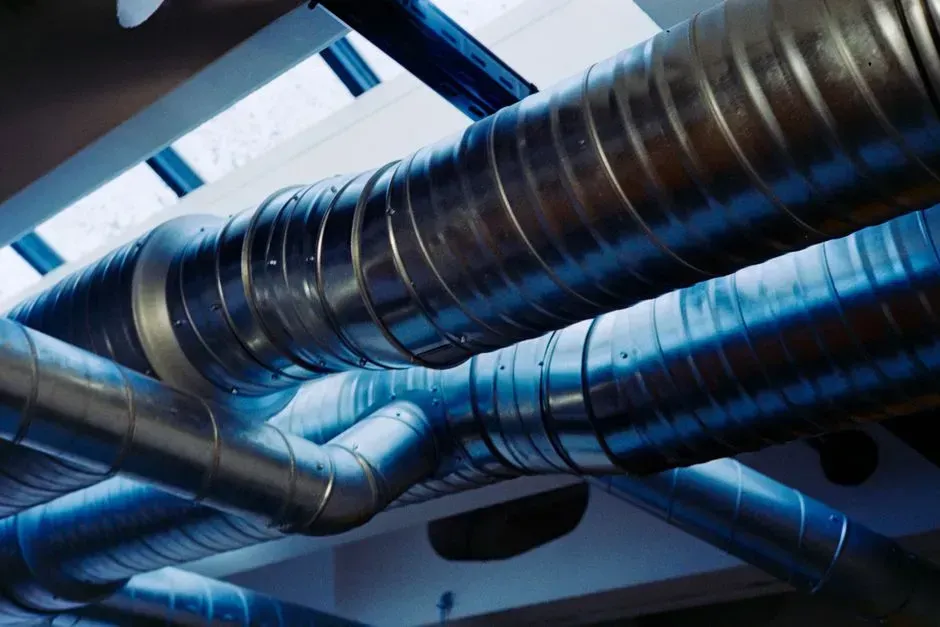
Leaky ductwork in an attic, crawl space, or basement wastes heat before it ever reaches a room. The U.S. Department of Energy notes that ducts in unconditioned spaces can lose a meaningful share of the air they carry. Seams sealed with mastic or metal tape, then insulated, help a lot.
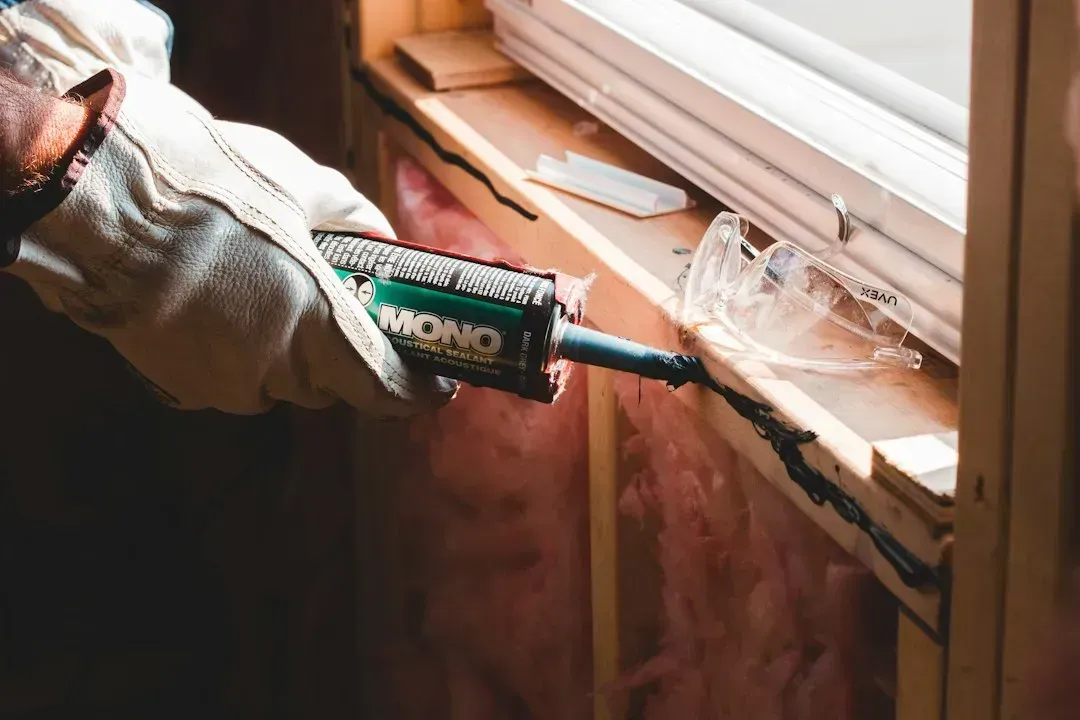
Also look at the places where plumbing, wiring, and dryer or exhaust vents pass through walls, floors, and ceilings. The gaps around them are often left open after construction. Caulk or expanding foam closes small ones, and metal flashing or fire rated sealant suits larger openings near flues.
Where to Begin
A professional energy audit is the most reliable way to find what applies to your house, and some utilities offer them at a reduced price. According to ENERGY STAR, sealing air leaks and adding insulation can trim heating and cooling costs by around fifteen percent on average. Results vary with the home, the climate, and how leaky it was to start.
If you’d rather begin on your own, work from the top down. Seal the attic first, then the basement, then doors and windows. Those steps tend to give the most noticeable comfort for the least money.

- 9 Space Discoveries Our Grandparents Never Imagined Would Happen - November 16, 2026
- Scientists Warn: This Cosmic Radiation Risk Could Limit How Far Humans Can Travel - November 16, 2026
- Recyclable Labels That Mean Landfill-Bound – 7 Packaging Tricks Decoded - November 16, 2026
