

- The 9 Risky Winter Shortcuts Homeowners Make That Could Void Their Insurance - November 20, 2026
- Drivers Secretly Hate These 12 Bad-Weather Road Habits – Are You Guilty of Any? - November 20, 2026
- Space-Based Solar Power Could Beam Energy To Earth. How Close Is It To Reality? - November 19, 2026
Open almost any kitchen bin and you’ll find the makings of something useful. Coffee grounds, apple cores, eggshells and wilted lettuce all start out as waste, yet they break down into dark, crumbly soil with surprisingly little effort.
Composting has a reputation for being fussy or smelly, and it doesn’t have to be either. A handful of basic rules covers most of what beginners need to know, and the rest you learn by doing.
Why Compost at All
According to the US Environmental Protection Agency, food scraps and yard trimmings make up a large share of what Americans throw away. Food is the single largest material category going into landfills. When it’s buried without air, it produces methane, a potent greenhouse gas.
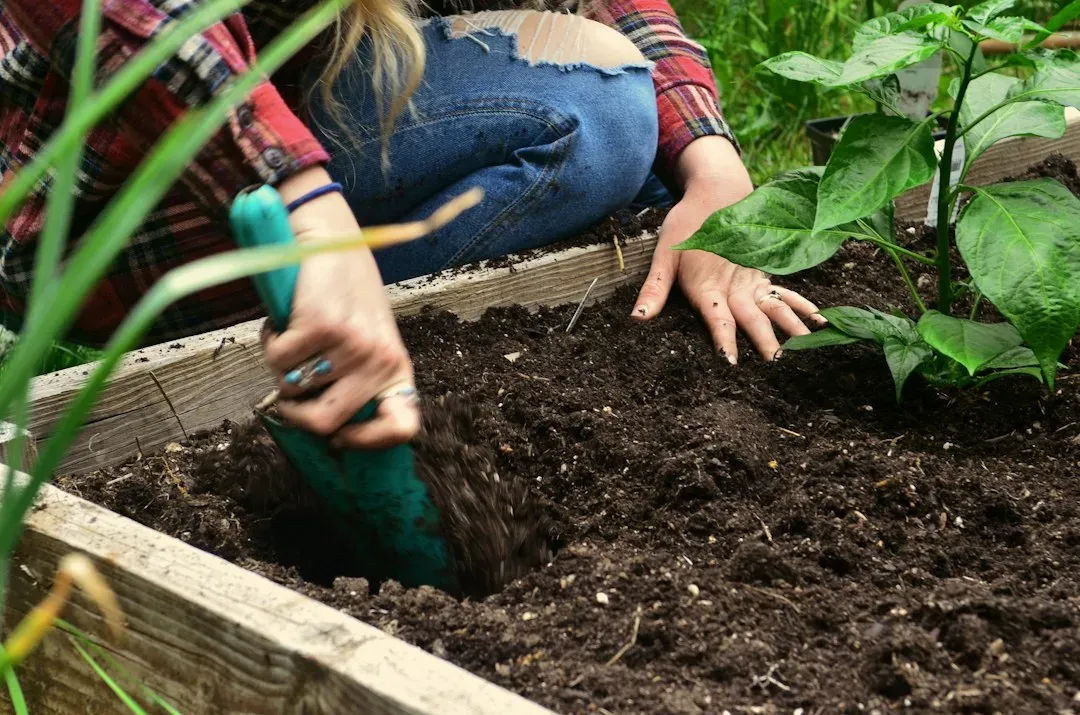
Composting keeps that material in an oxygen rich environment, where it breaks down differently. You also get a free soil amendment out of it. Finished compost adds organic matter, helps soil hold water, and feeds the microbes that plants depend on.
Greens and Browns Explained
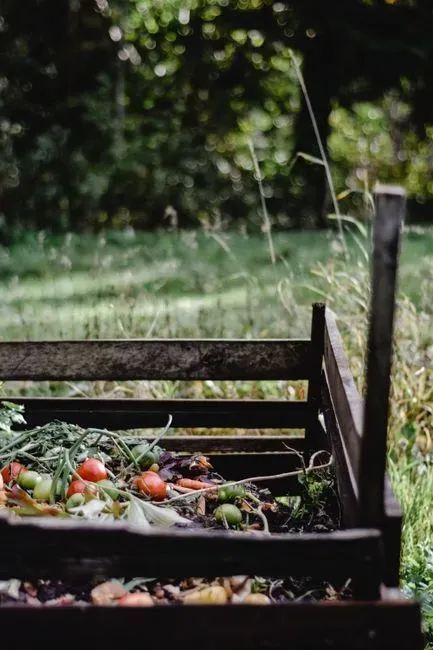
Every compost pile runs on a balance between two groups of materials. Greens are moist and rich in nitrogen, such as vegetable scraps, fruit peels, coffee grounds and fresh grass clippings. Browns are dry and rich in carbon, such as dead leaves, shredded cardboard, straw and paper.
A commonly cited target is about thirty parts carbon to one part nitrogen by weight. Nobody weighs their scraps in practice. A simple rule of thumb is to add roughly two or three parts brown material by volume for each part green.
What Can Go In the Bin
The safe list is long. Fruit and vegetable trimmings, tea bags without plastic, crushed eggshells, coffee filters, houseplant clippings, and plain cardboard all work well. Chop larger pieces up first, because smaller bits decompose faster.
Wood ash, hair, and dry fall leaves are fine in moderation. Paper towels and napkins are generally acceptable as long as they haven’t been used with chemicals or cleaning products. Check your local program’s guidelines if you plan to use municipal collection instead of a backyard pile.
What to Keep Out
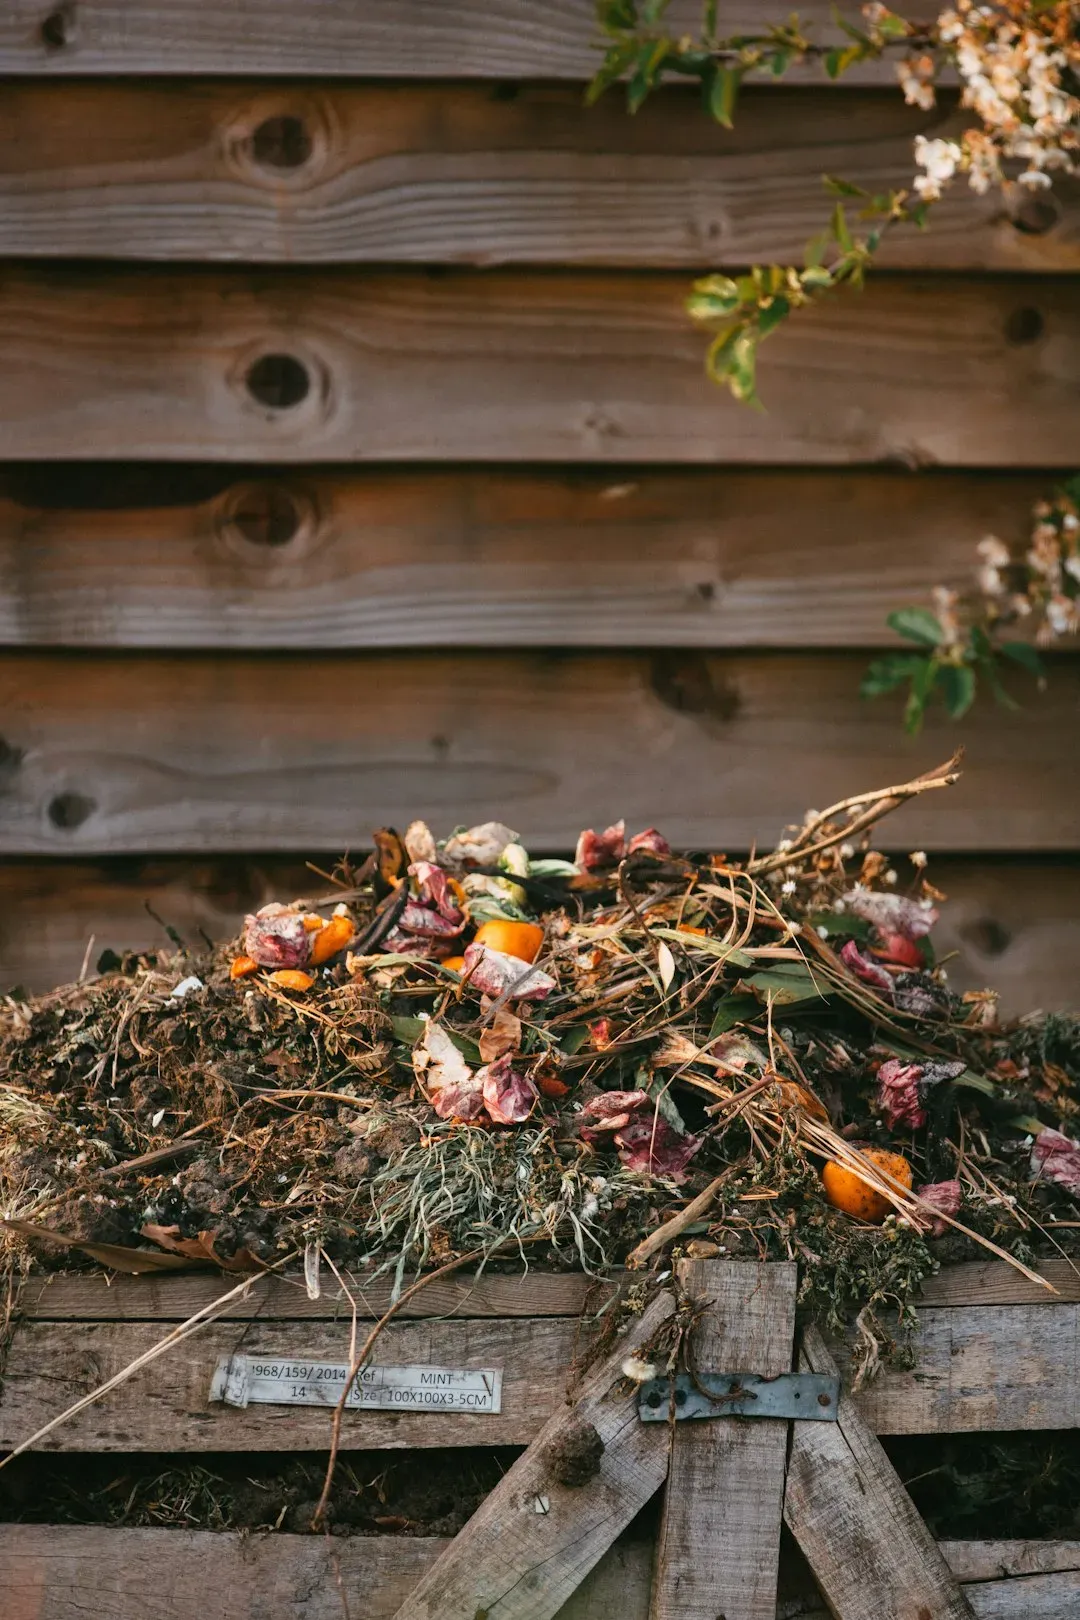
Meat, fish, bones, dairy products and greasy leftovers are the usual troublemakers in a home pile. They attract rodents and flies, and they smell as they rot. Cooked foods with a lot of oil fall into the same category.
Pet waste from dogs and cats is best avoided, since it can carry parasites and pathogens that backyard piles may not eliminate. Diseased plants and weeds that have gone to seed are also risky, because they can spread problems into your garden later. Avoid anything treated with persistent pesticides too.
Picking a Method That Fits Your Space
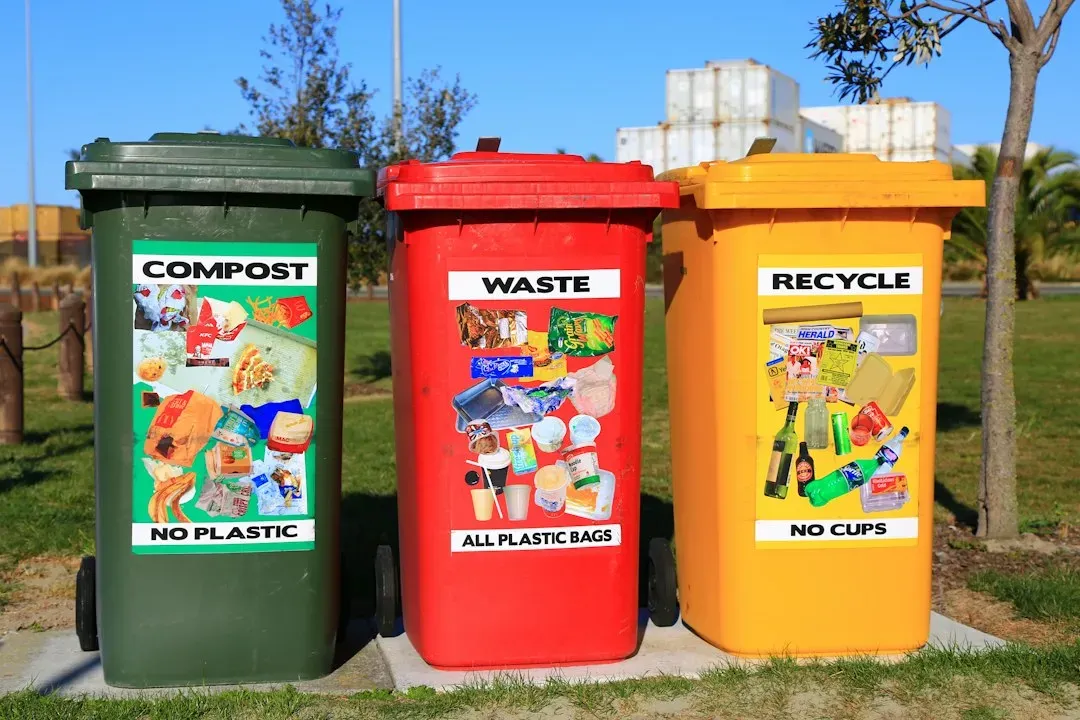
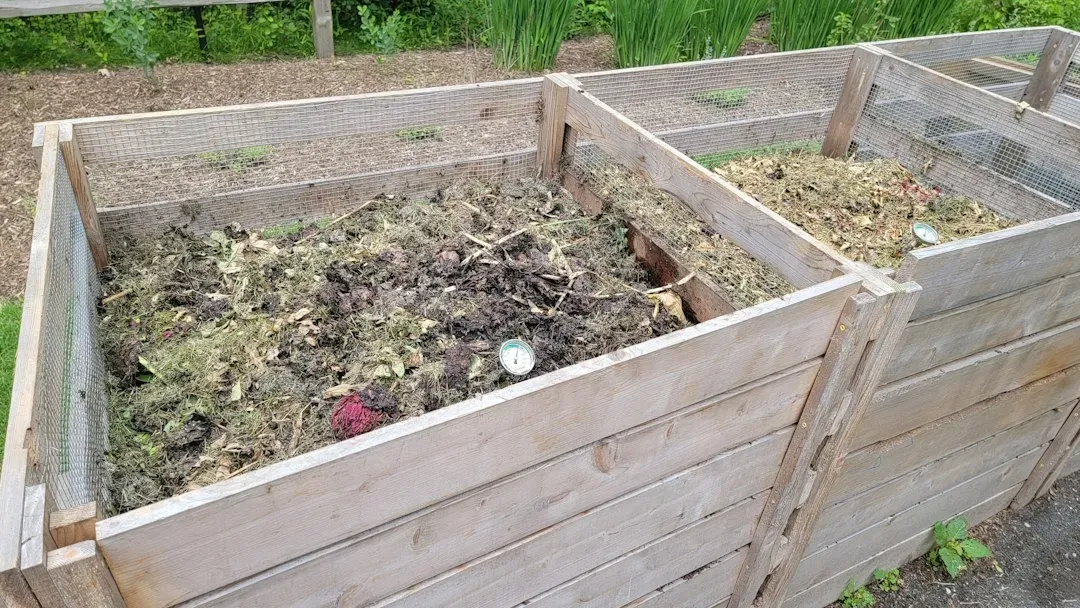
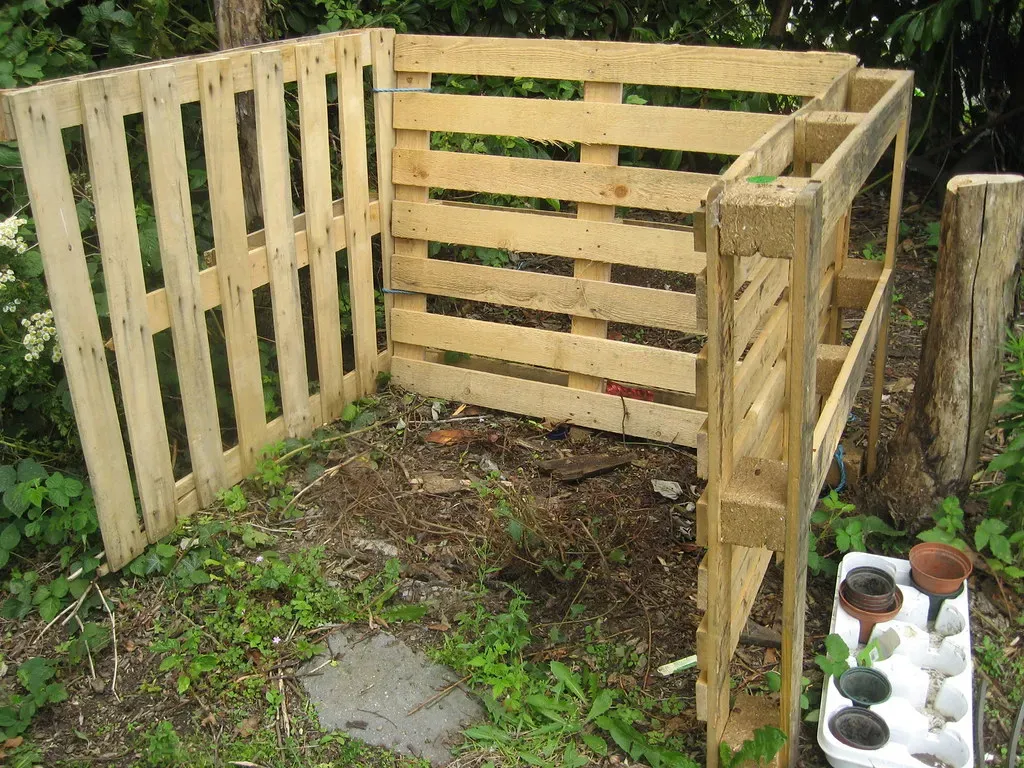
A backyard bin or open pile suits anyone with a bit of outdoor room. Many extension services suggest a footprint around three feet wide, deep and tall, which is large enough to hold heat. Tumblers are a tidier option and make turning easier, though they hold less.
Apartment dwellers have choices as well. Worm bins use red wiggler worms to process scraps indoors or on a balcony, and they work well at small scale. Bokashi systems ferment food waste in a sealed bucket with an inoculated bran, and the result is then buried or added to a larger pile.
Building Your First Pile
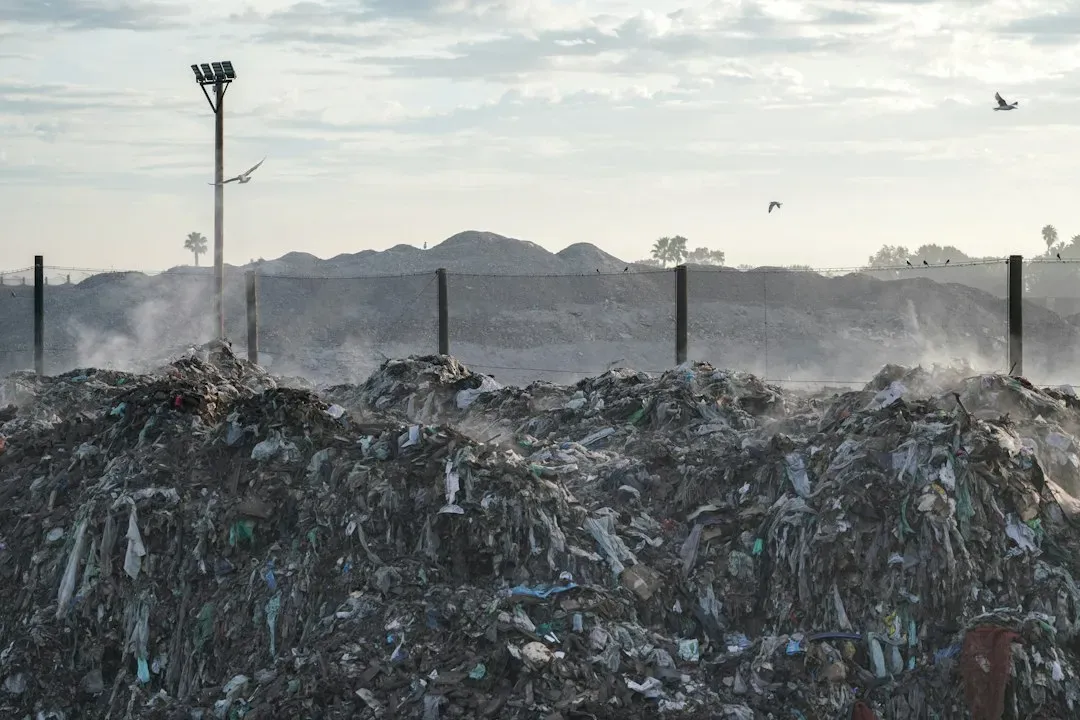
Start with a layer of coarse browns, such as twigs or straw, at the bottom to help air move through. Then alternate scraps with dry material, and bury fresh kitchen waste a few inches deep so it doesn’t draw pests. Chopping and shredding speeds everything up noticeably.
Choose a spot with decent drainage, ideally on bare soil so worms and microbes can move in. Partial shade keeps the pile from drying out in summer. A lid or tarp helps control rain and moisture too.
Moisture, Air and Heat
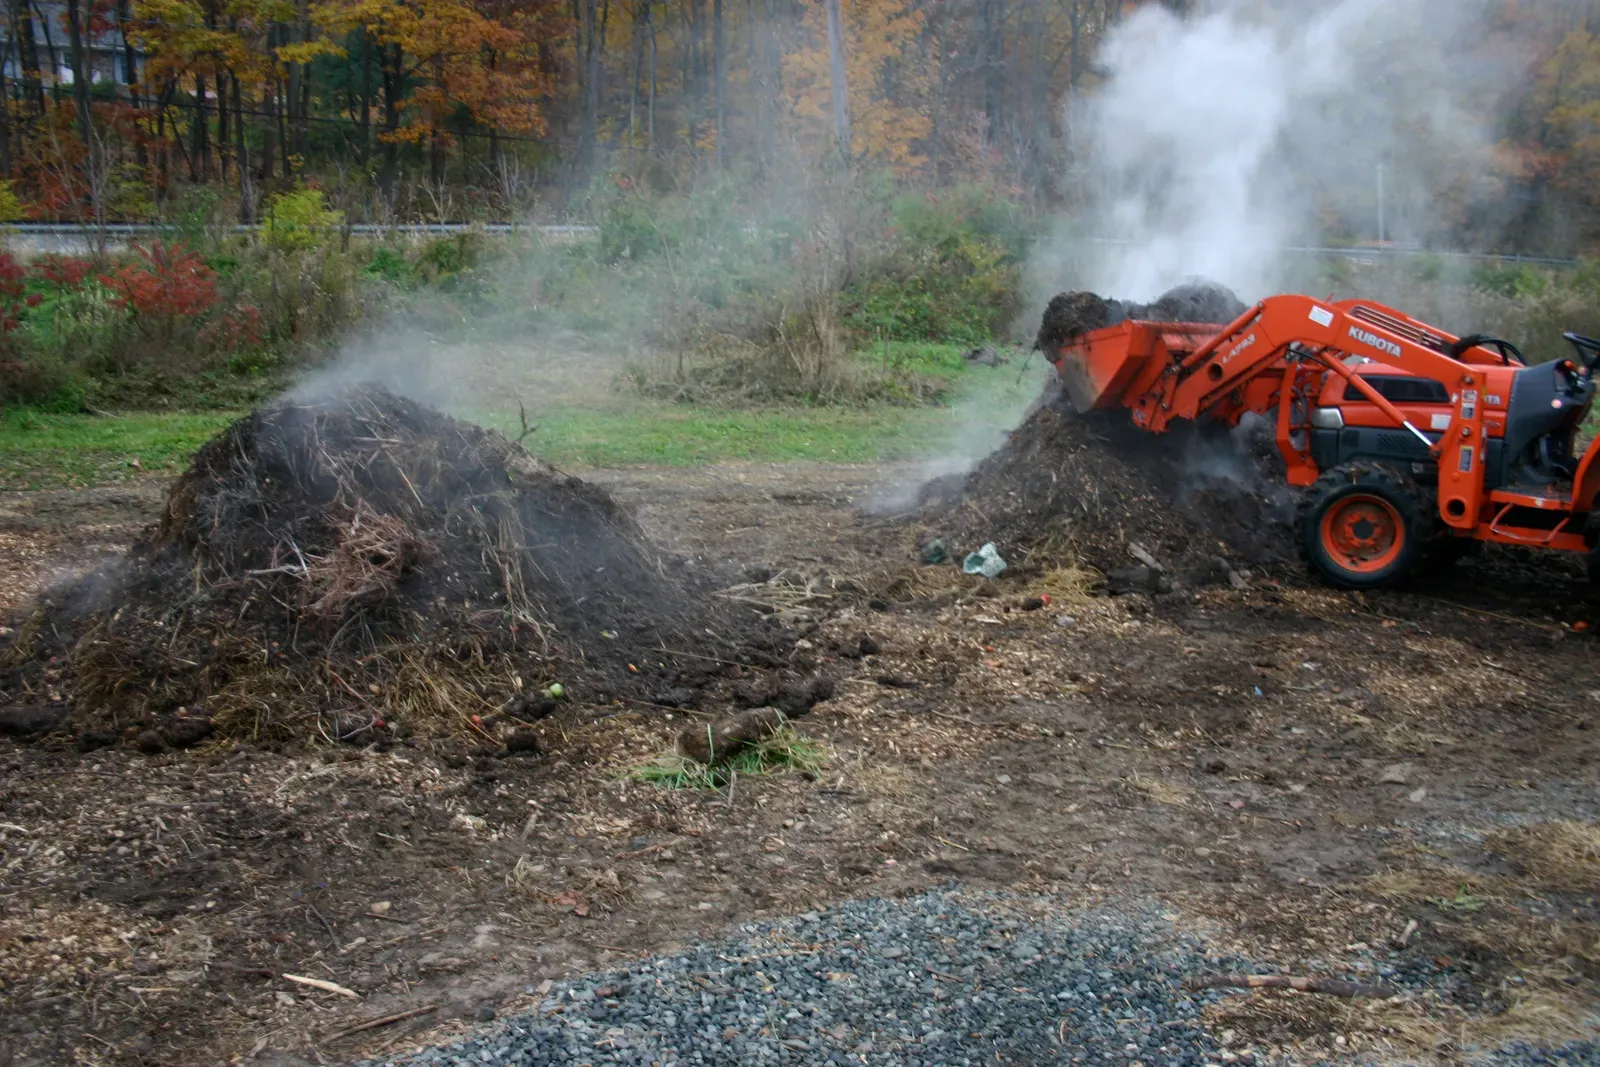
Microbes need water and oxygen to work. The pile should feel like a wrung out sponge, damp but not dripping. If it’s dry, add water or fresh greens, and if it’s soggy, mix in dry leaves or shredded paper.
Turning the pile every week or two brings in oxygen and prevents sour odors. An active hot pile can reach roughly one hundred thirty to one hundred sixty degrees Fahrenheit, which helps break down material faster and reduces many weed seeds and pathogens. Cooler piles still work, just more slowly, sometimes taking many months.
Fixing Common Problems
A pile that smells like ammonia usually has too much nitrogen, so add browns and turn it. A rotten egg smell points to too little air or too much water. Both fixes are simple and rarely take more than a few minutes.
If nothing seems to be happening, the pile is probably too dry, too small, or short on greens. Flies are common with exposed food scraps, so keep them buried and covered. Rodents tend to show up when meat or oily food gets in, which is why those items are worth skipping.
Knowing When It’s Ready and How to Use It
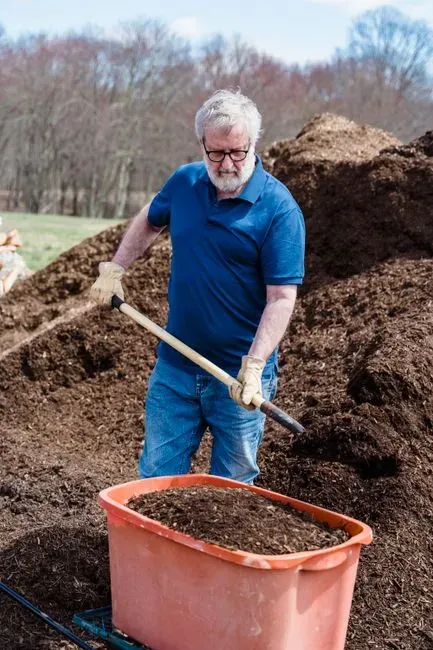
Finished compost looks dark and crumbly and smells like forest soil. You shouldn’t be able to recognize the original scraps, apart from the odd eggshell fragment or woody twig. Many gardeners sift it through a half inch screen and return the larger pieces to the next batch.
Mix it into garden beds, spread a thin layer over lawns, or blend a small amount into potting mixes. It works best as a soil amendment rather than a full replacement for soil. A layer of one to two inches worked into the top few inches of a bed is a common recommendation from university extension programs.
