


- Will travel insurance cover weather-related flight delays and cancellations? - November 11, 2026
- 8 Cities Where the Weather Changes So Fast Locals Carry Everything - November 11, 2026
- 10 Traditional Building Techniques From Hot Climates Architects Are Revisiting - November 10, 2026
Most people picture a first telescope as a quick path to Saturn’s rings and glowing nebulae. The reality is a little more modest, and a lot more interesting once you know what to expect.
Beginners tend to spend money on the wrong things and expect the wrong results. A handful of practical facts can save you months of frustration and a fair amount of cash.
Aperture Matters More Than Magnification
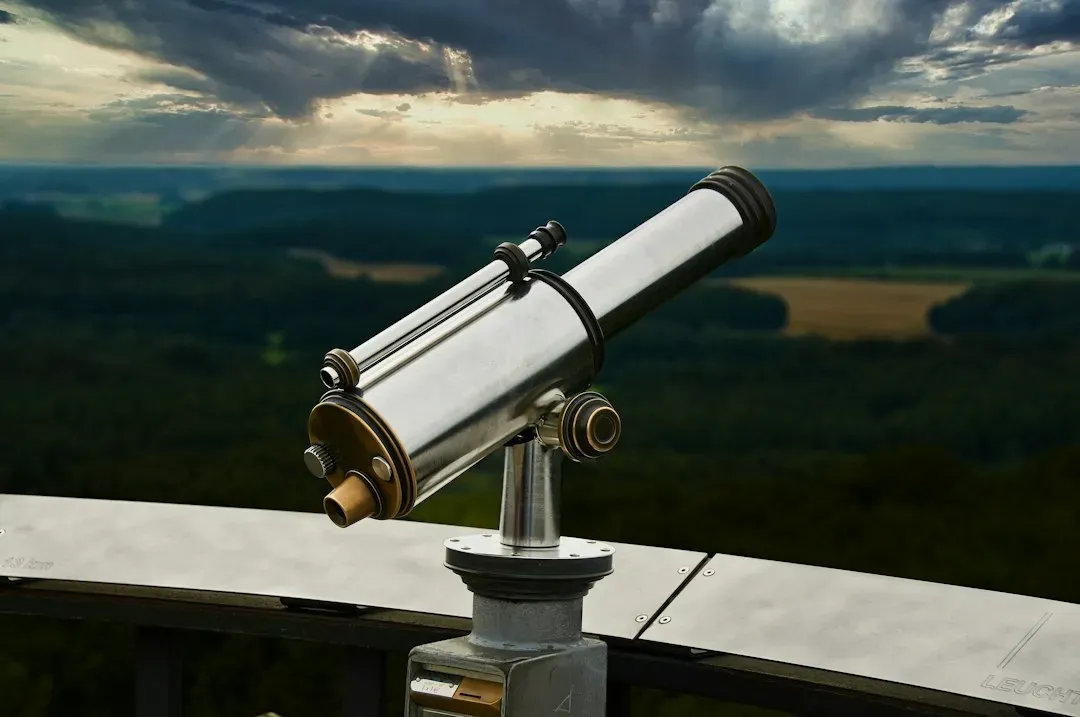
Box labels love to advertise huge magnification numbers like 500x. Yet the number that actually decides what you can see is aperture, the diameter of the main lens or mirror. A bigger opening gathers more light, so faint objects look brighter and finer detail becomes visible.
A common rule of thumb is that the useful maximum magnification is about twice the aperture in millimeters, so a 70 mm scope tops out near 140x. Push beyond that and the image just gets dim and blurry. For a first scope, many beginners do well with something around 6 to 8 inches of aperture if they can manage the size, and a smaller scope that you’ll really use beats a big one that stays in the closet.
The Mount Can Make or Break the Experience
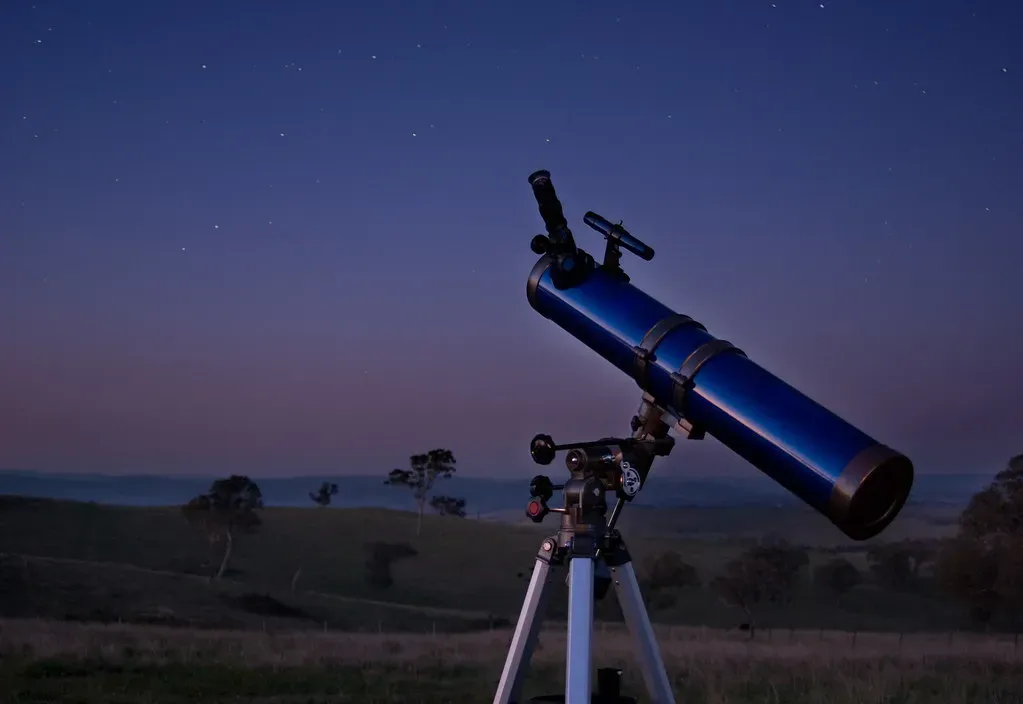
A wobbly tripod turns every nudge into a shaking image that takes seconds to settle. At high power, even a light breeze can make an object dance out of view. Many cheap department store telescopes pair decent optics with a flimsy mount, which is a big reason people give up early.
Alt-azimuth mounts move up, down, left and right, and they’re simple to learn. Equatorial mounts track the sky’s rotation but take more setup and practice. A Dobsonian, which is a simple tube on a sturdy rotating base, is a popular beginner pick because it offers lots of aperture and steady handling for the money.
Your First Targets Will Be the Moon and Planets
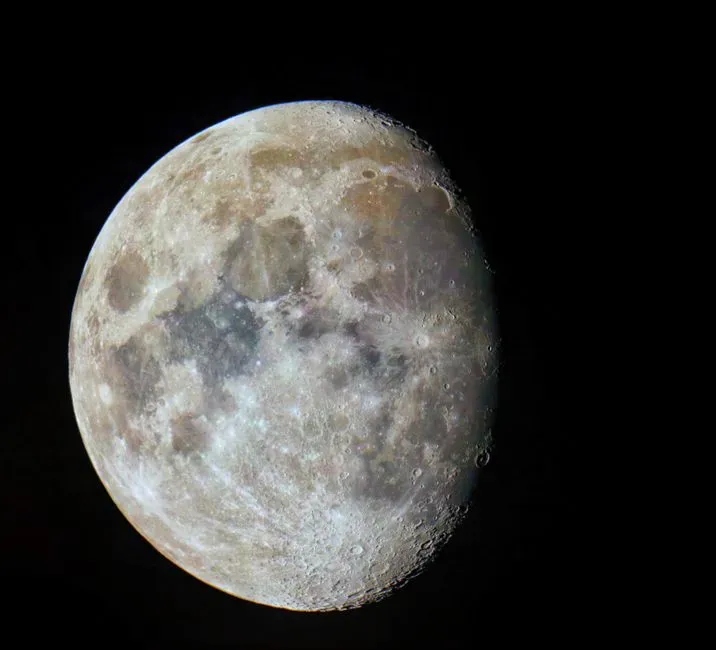
Deep sky objects like galaxies and nebulae are far fainter in an eyepiece than in long exposure photos. Through a small telescope, they usually appear as soft gray smudges. That surprises many newcomers who expect color and structure like the images from space telescopes.
The Moon, though, is spectacular in even modest optics, with craters and mountain shadows along the terminator line. Jupiter shows its cloud bands and four bright moons, and Saturn’s rings are visible at fairly low power. Starting with these targets gives you early wins while your eye learns to pick out subtle detail.
Setup and Learning the Sky Take Time
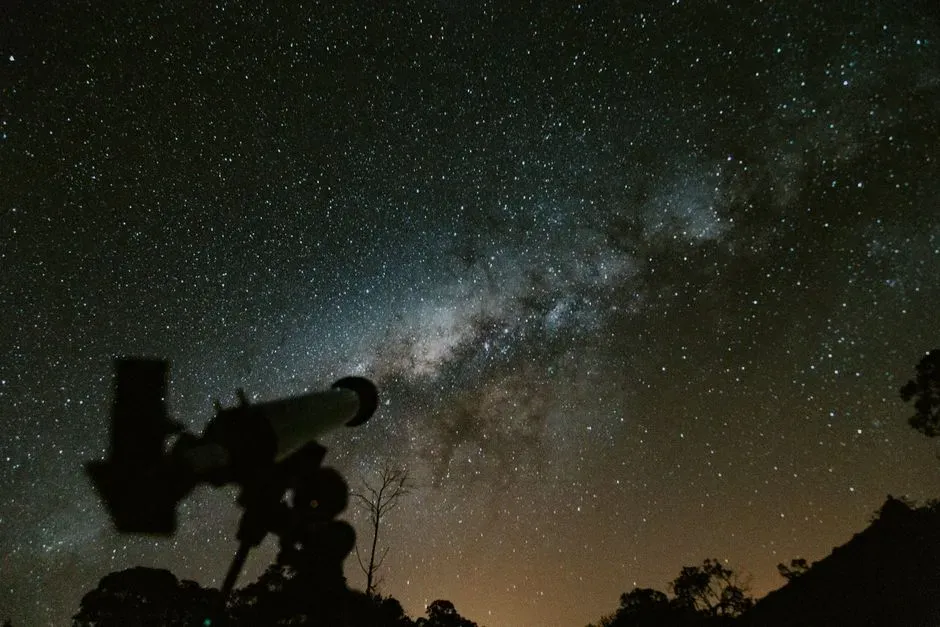
Finding anything takes practice, especially when a telescope’s narrow view shows only a tiny patch of sky. A red dot finder or a simple finderscope helps aim the tube, and a free planetarium app such as Stellarium can show you what’s overhead. Learning a few bright constellations first makes star hopping from one target to the next much less confusing.
Let the telescope sit outside for 20 to 30 minutes before observing, so the optics can match the air temperature. Otherwise, warm air currents inside the tube blur the view. Collimation, the alignment of mirrors in reflector designs, is also worth learning, since it’s quick once you’ve done it a couple of times.
Light Pollution and Seeing Conditions Limit What You Can See
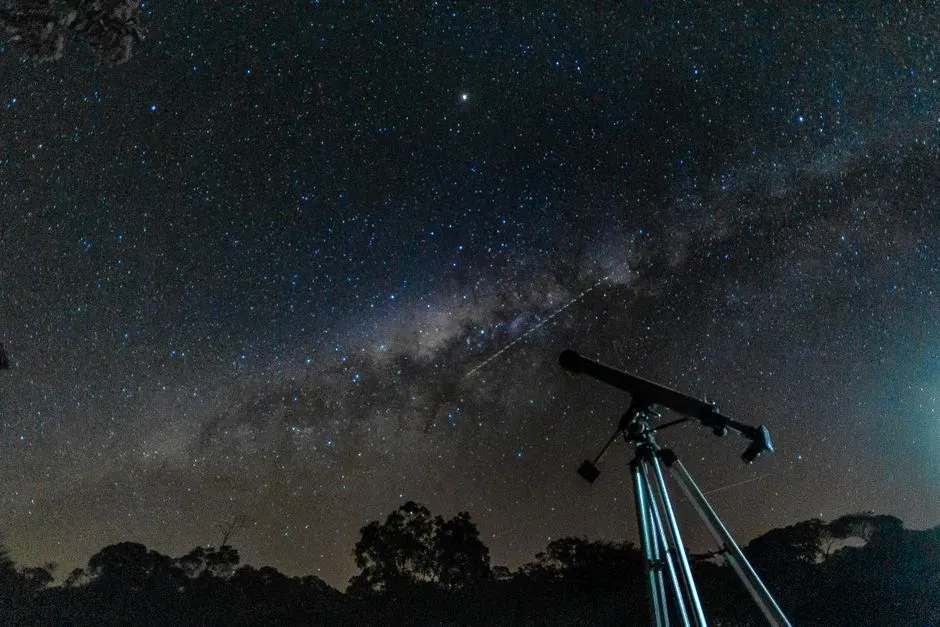
Where you observe changes the view more than most upgrades will. Under bright city skies, faint objects wash out, even in a decent scope. A drive to a darker site can reveal far more than a new eyepiece ever could, and the Bortle scale is a handy way to judge how dark your location is.
Atmospheric steadiness, called seeing, also matters. On turbulent nights, stars twinkle strongly and planets look like they’re underwater. Checking a forecast tool like Clear Outside before you haul the gear out can spare you a disappointing night.
Binoculars and Accessories Deserve a Spot in Your Budget
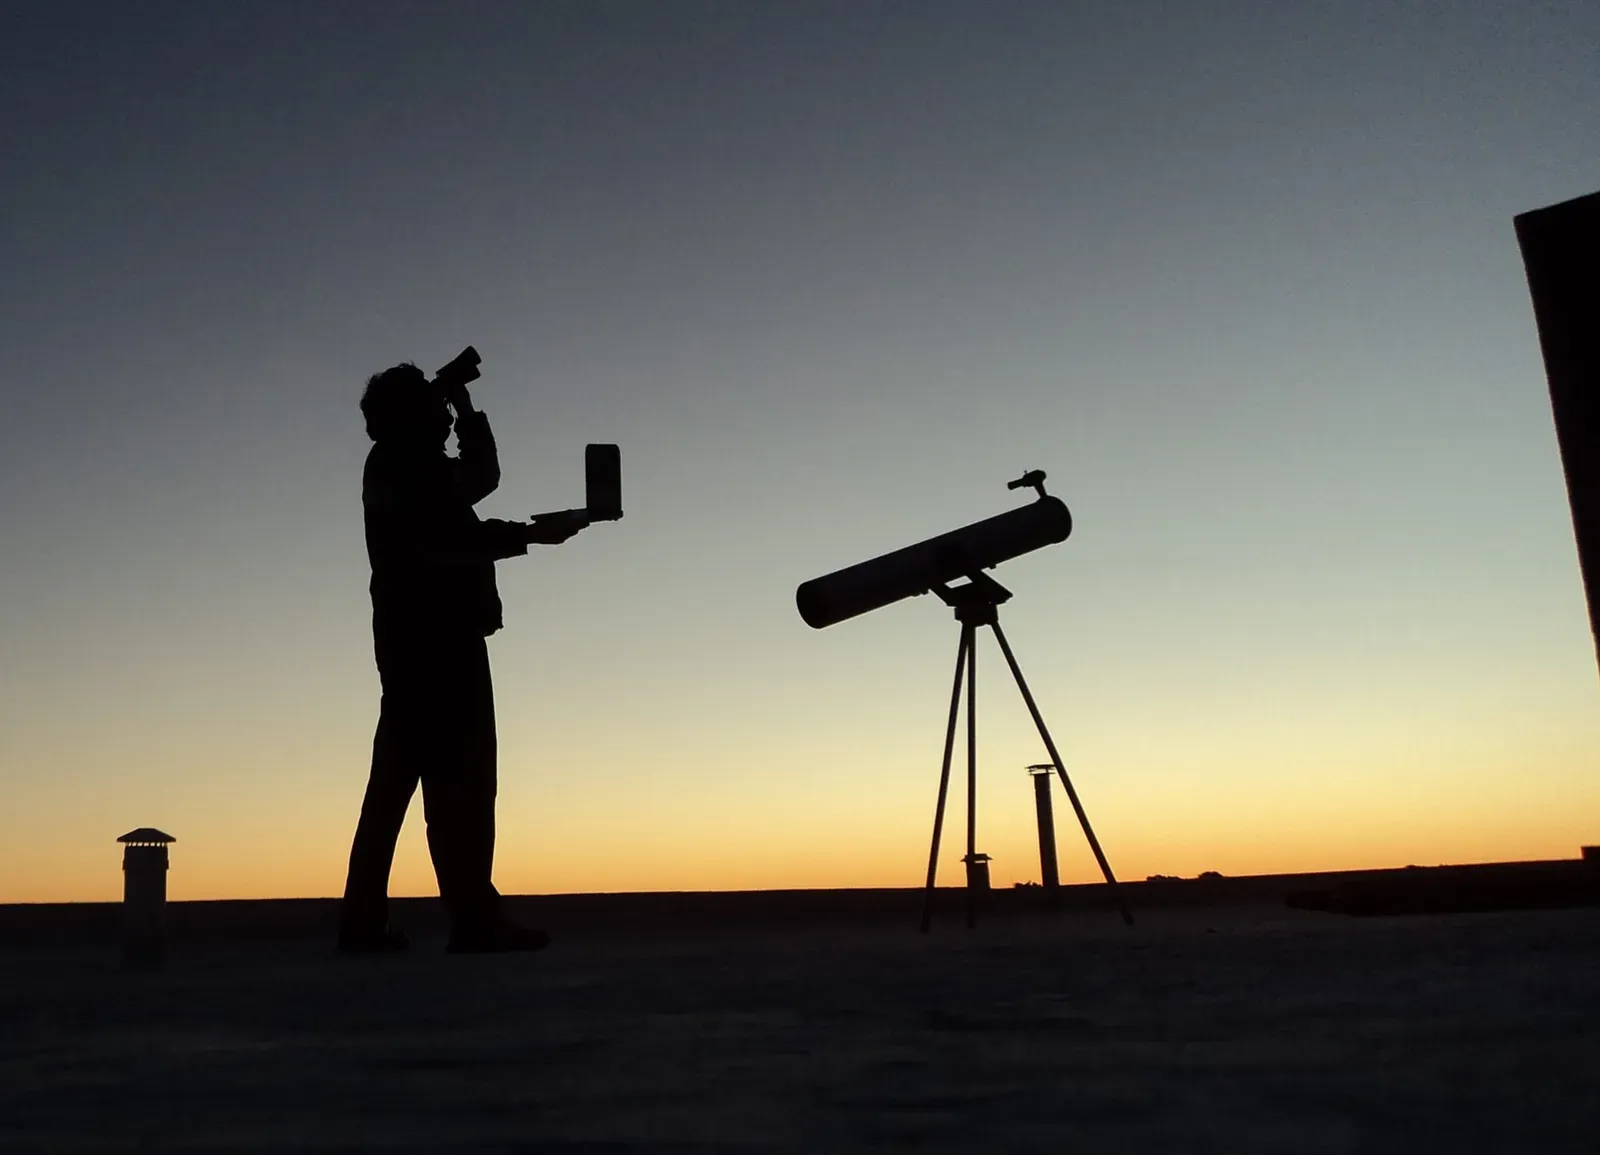
A pair of binoculars, such as 10×50, is an excellent companion. They’re quick to grab, easy to point, and show star clusters, the Andromeda Galaxy and large lunar features without any setup. Many experienced observers still reach for them first.
When it comes to extras, a couple of good eyepieces usually beat a pile of cheap ones. A red flashlight protects your night vision, and a Moon filter can tame the glare of a bright full Moon. Before you buy anything else, consider joining a local astronomy club, since many hold public star parties where you can try different telescopes for free.
